Let's get you set up.
One question, then one step at a time. About 20 minutes, ending with a link to your live game.
It is, and it's the easiest start: open run.world/studio in your browser and build. This page is the step up: the same AI building, on your own computer:
Pick an AI app and sign in
Any of these three can build and publish your game. If you already use one, pick that.
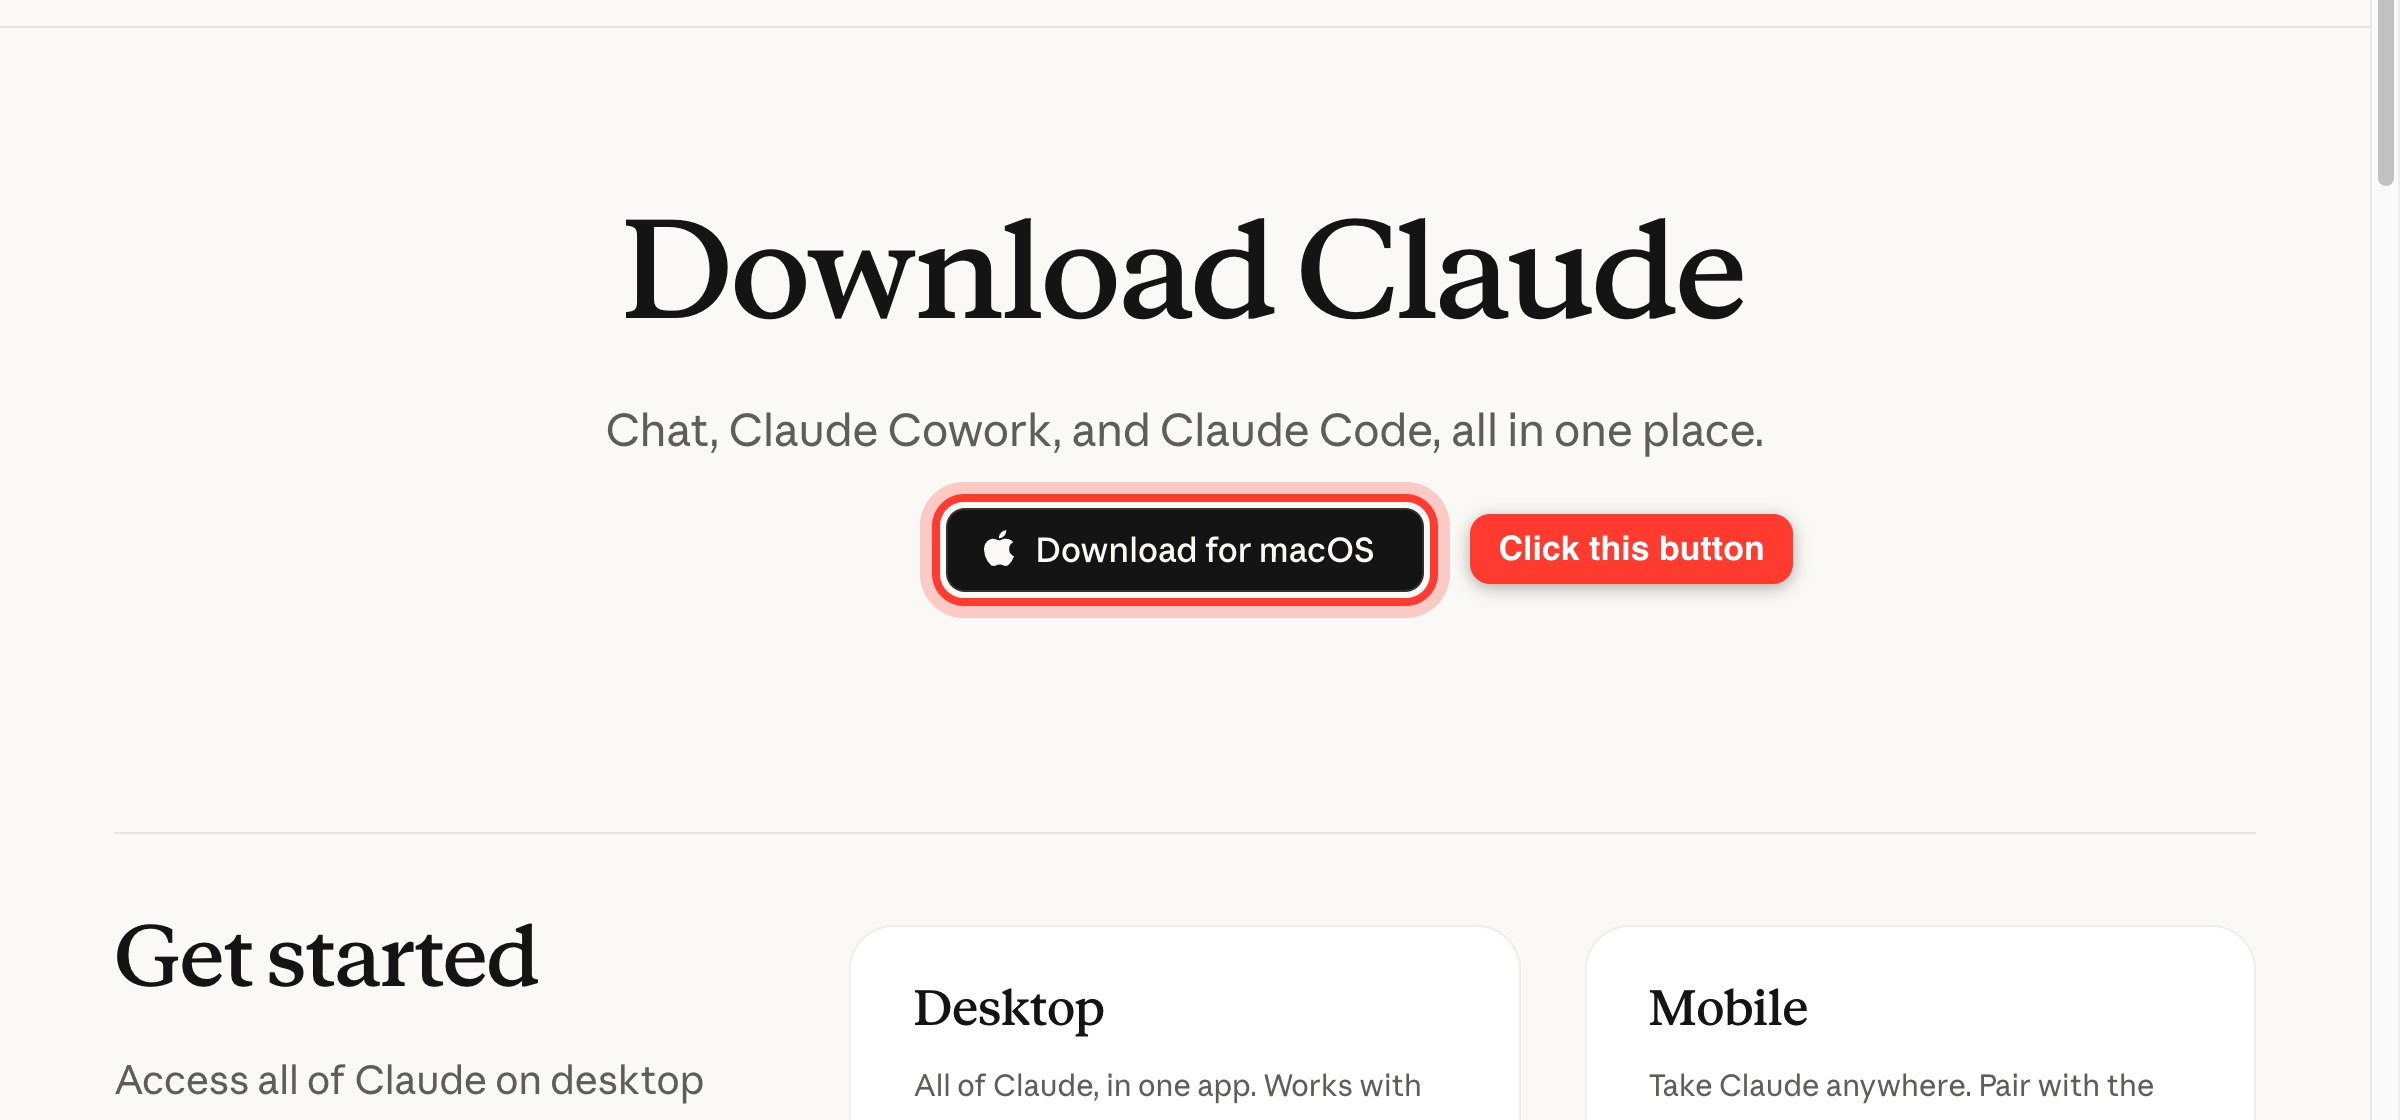
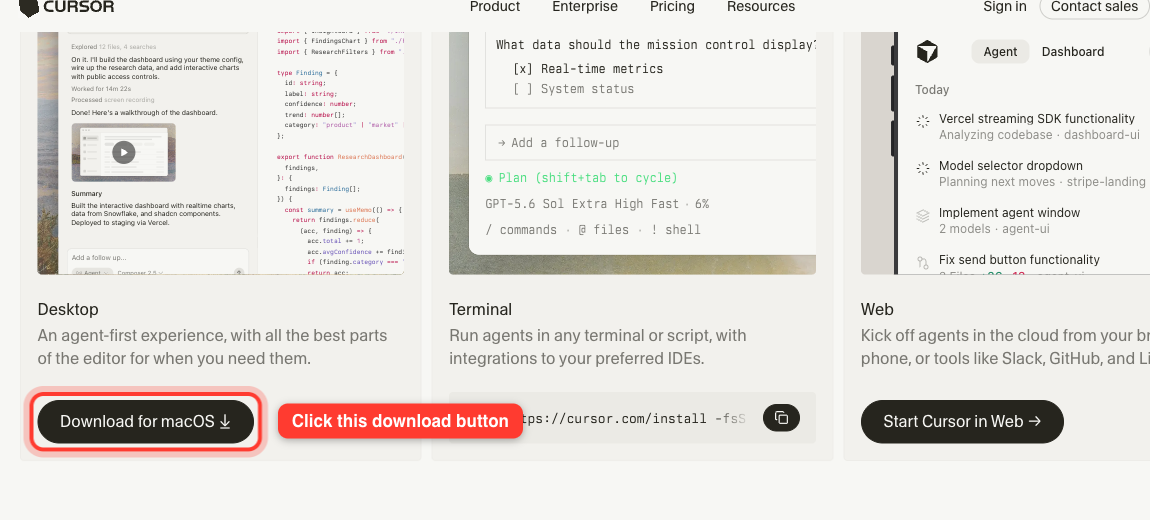
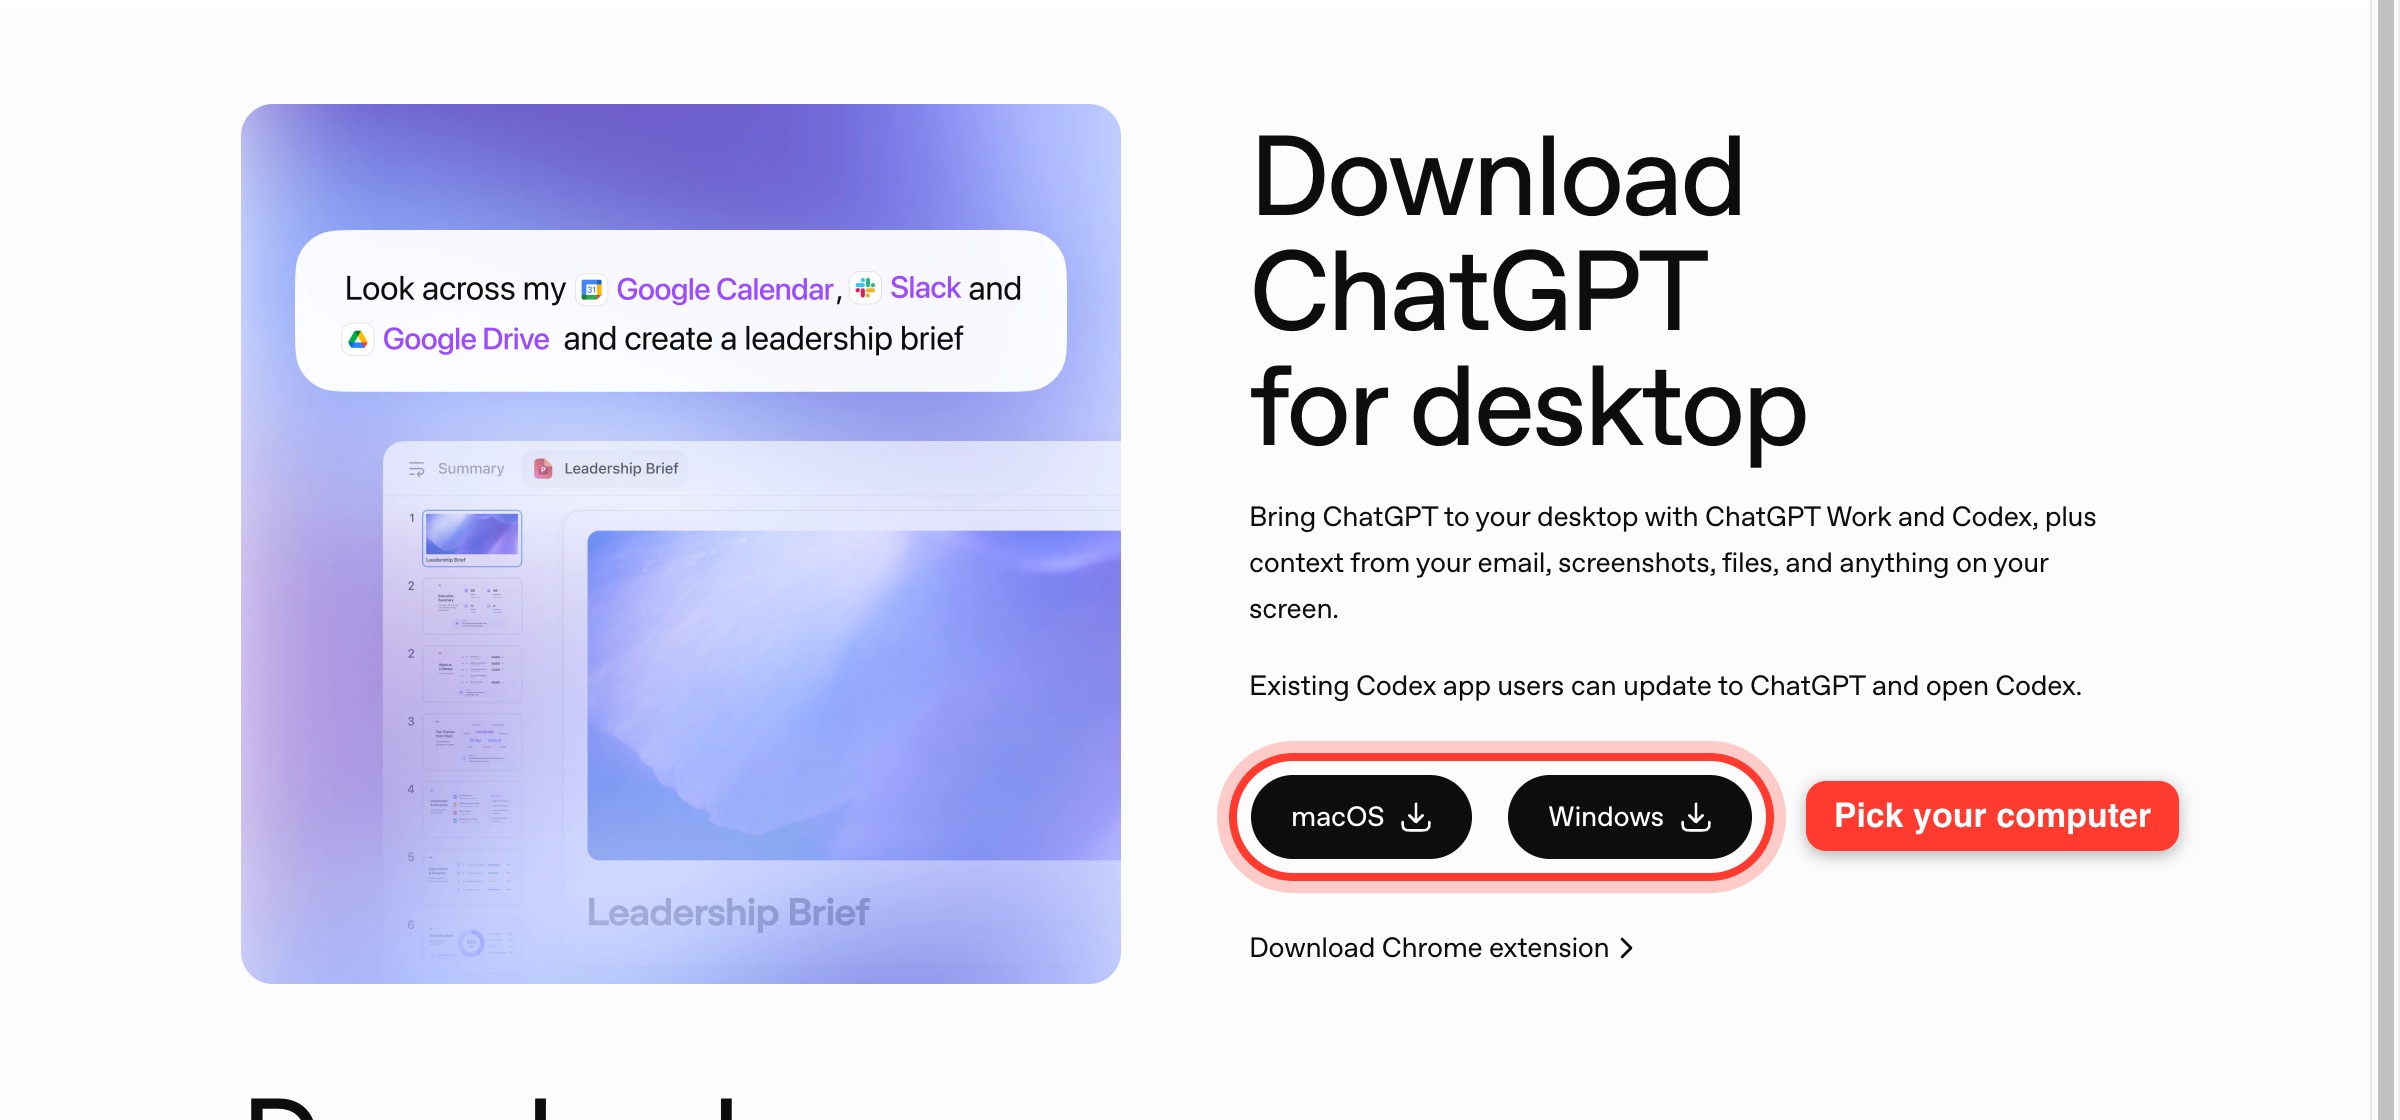


Give the AI one folder to work in
Make a new folder on your Desktop called My RUN Game. Every game file will live inside it.
Paste this, and describe your game
Swap in your own idea at the end:
Set me up to build games on RUN.world by following the instructions at https://events.run.world/events/cli-setup/agent.md. Work inside the folder I selected. Then build me: [describe your game]
"A cozy fishing game where I catch strange fish and sell them."
"A one-button endless runner where the score increases over time."
The AI will ask permission for four things
That's normal: it checks with you before touching anything. Choose Allow when the request matches this list:
Asked for something else? It's always fine to say no and ask what it's for.
1. Open the window where you type commands
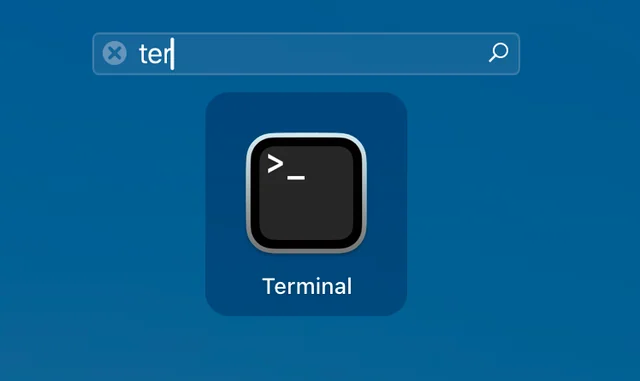
On a Mac it's called Terminal: press Cmd + Space, type terminal, press Enter. A plain window with a blinking cursor appears. It looks boring; that's correct.
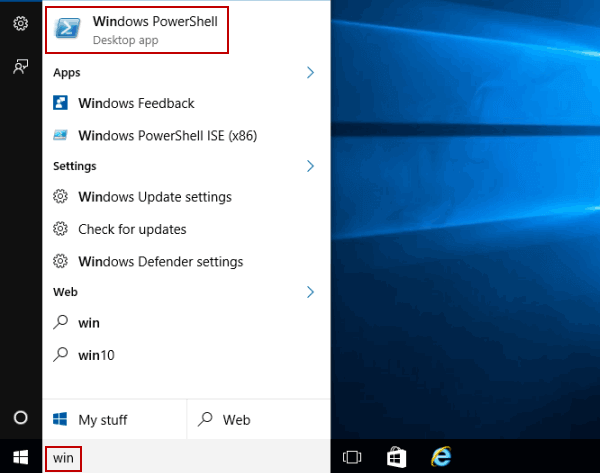
On Windows it's called PowerShell: press the Windows key, type powershell, press Enter. A blue or black window with a blinking cursor appears. It looks boring; that's correct.
2. Install Node.js, the free engine games run on
Open nodejs.org/en/download, scroll past the code box (ignore it), click the green macOS Installer (.pkg) button, and run the installer. Then check it worked: paste this in the terminal and press Enter:
$ node --version3. Install rundot, the RUN publishing tool
$ curl -fsSL https://github.com/series-ai/rundot-cli-releases/releases/latest/download/install.sh | bashLet it finish, then close the terminal and open a fresh one so your computer notices the new tool. Check with:
$ rundot --help4. Connect it to your RUN account
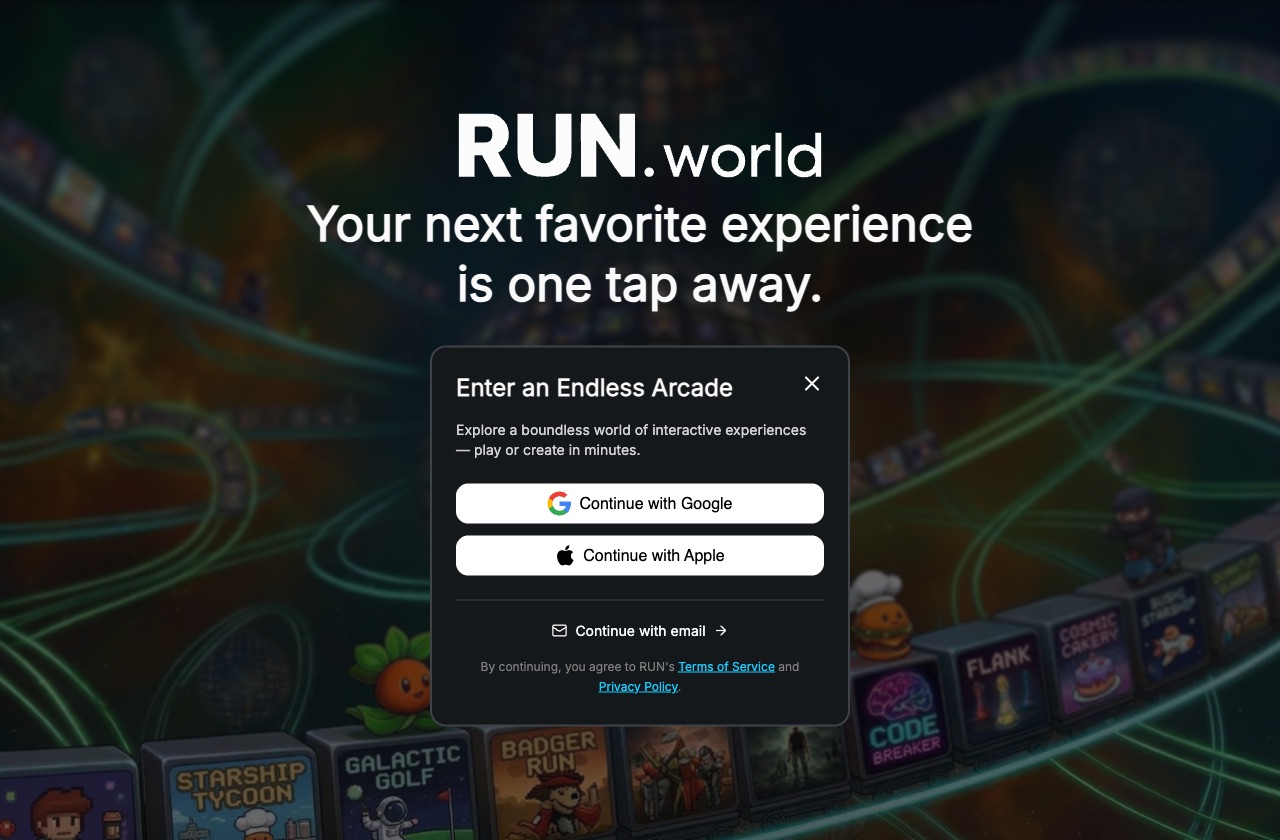
$ rundot loginYour browser opens the RUN.world sign-in screen (the same one shown below). Done? Tell the AI "everything is already installed" and it skips ahead.
For the last one, your browser opens the RUN.world sign-in screen. Google, Apple, or email all work, and this same screen creates your account if you don't have one.
Open your share link
The AI reads the RUN docs, builds your game, and publishes it. When it finishes, it hands you a private share link. Open it. That's your game, live.
Install, build, and deploy
Needs Node 20+. New shell after installs.
$ curl -fsSL https://github.com/series-ai/rundot-cli-releases/releases/latest/download/install.sh | bash$ irm https://github.com/series-ai/rundot-cli-releases/releases/latest/download/install.ps1 | iex$ rundot loginOption A, official templates: 2D Phaser · 3D React/Three.js · 2D UI React. Clone, then npm install.
Option B, your own project: build must output to ./dist with relative asset paths (Vite: base: './'). Then pull SDK + CLI docs into the repo:
$ rundot download-docsRead the instructions at https://events.run.world/events/cli-setup/agent.md and the docs in .rundot-docs. Build my RUN.world game in this project, verify the build, and deploy it. The game is: [describe your idea]
$ rundot init --name "My Game"
$ npm run build
$ rundot deploydeploy prints a private share URL + QR. rundot game set-public submits for review; public + approved counts for jam leaderboards. Iterate with rundot deploy --bump patch|minor|major. Keep fresh with rundot update · SDK docs: series-1.gitbook.io · agent instructions: agent.md